 English
  中文简体
中文简体  русский
  عربى
عربى Indoor Fire Hydrant Systems: How to Choose, Place, and Maintain Them So They Work When It Counts
 2026.10.13
 Industry News
Short answer
An indoor fire hydrant is a hose outlet connected to a dedicated standpipe inside a building. It gives trained users and firefighters pressurized water on the floor where the fire is, instead of forcing them to drag hose up stairs from the street. A system works when four things are right: the correct class for the people who will use it, enough flow and pressure at the highest outlet, outlet positions that cover every corner of every floor, and an inspection routine that is written down and followed.
Most failures of indoor hydrant systems are not dramatic engineering errors. They are a closed supply valve nobody noticed, a hose that rotted inside its cabinet, a nozzle that disappeared, or a cabinet blocked by stored boxes. The sections below explain how the system is built, which numbers matter, where outlets belong, and what to check and when, so that the equipment is ready on the day it is needed.
100 gpmMinimum flow for a single occupant-use hose station, roughly five standard sprinkler heads discharging at once
0.433 psiPressure lost for every foot of vertical rise, which is why tall buildings need pumps
5 yearsTypical interval for a full standpipe flow test under common inspection standards
What an Indoor Fire Hydrant Is and How It Differs From Other Fire Equipment
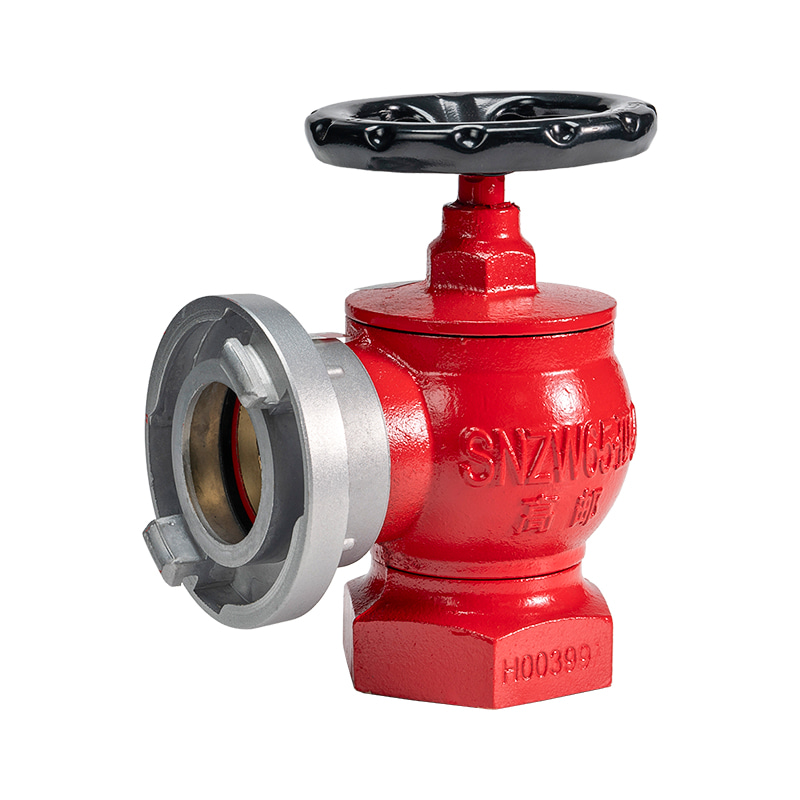
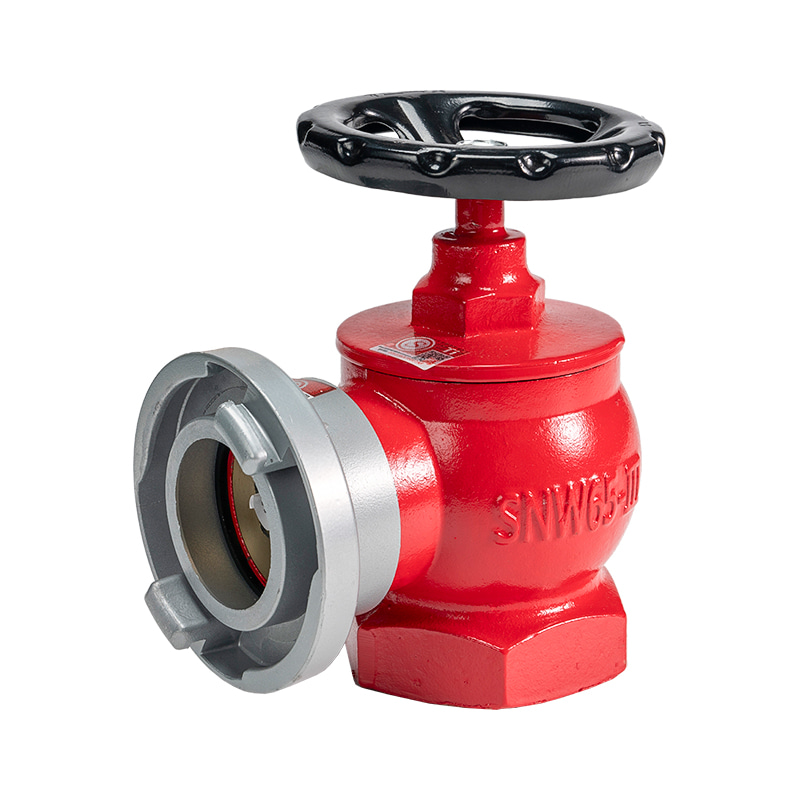
The term "indoor fire hydrant" covers the visible hose valve, hose, nozzle and cabinet, plus the vertical pipe behind them. In many standards the formal name is a standpipe and hose system. The outlet on a wall or stairwell landing is the end of a pipe that rises through the building and is fed by a public main, a storage tank, a fire pump, or a combination of these.
It is easy to confuse the indoor hydrant with other devices that also use water or fight fire inside a building. The differences decide who is expected to use each one and how much water each can deliver.
| Device | Who operates it | Water source | Typical role |
|---|---|---|---|
| Indoor fire hydrant (standpipe outlet) | Firefighters or trained staff | Dedicated riser with pump or tank support | Manual attack with high flow on any floor |
| Automatic sprinkler | No one, it activates by heat | Separate sprinkler piping | Control the fire at the point of origin |
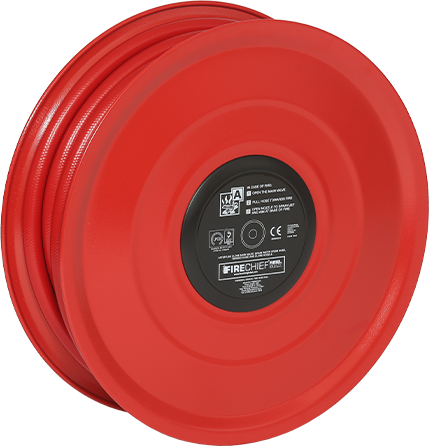
| Hose reel | Occupants with brief training | Smaller supply line, semi-rigid hose | First-aid firefighting at low flow |
| Portable extinguisher | Any occupant | Self-contained agent | Very small fires in the first minute |
| Outdoor hydrant | Fire department | Public water main | Supplies engines and the building connection |
The flow difference is the most useful number to remember. A standard sprinkler head with a K-factor of 5.6 discharging at 15 psi delivers about 22 gallons per minute. A single hose station in an occupant-use system is designed for 100 gallons per minute, and an outlet used by the fire department can be designed for 250 gallons per minute or more. That is the reason indoor hydrants remain essential even in fully sprinklered buildings: when a fire outgrows the sprinklers, only a hose stream can supply the volume needed.
Main Parts of an Indoor Fire Hydrant System
Understanding each component makes inspection and troubleshooting far easier, because a weak stream at the hose usually points to a specific link in the chain.
- Water supply. A municipal main, an elevated or ground tank, or both. The supply must hold the required flow for the design duration, commonly at least 30 minutes.
- Fire pump. Required when the supply pressure cannot lift water to the highest outlet at the pressure the standard demands.
- Riser or standpipe. The vertical steel pipe that carries water to every floor. Risers are often located inside protected stairwells.
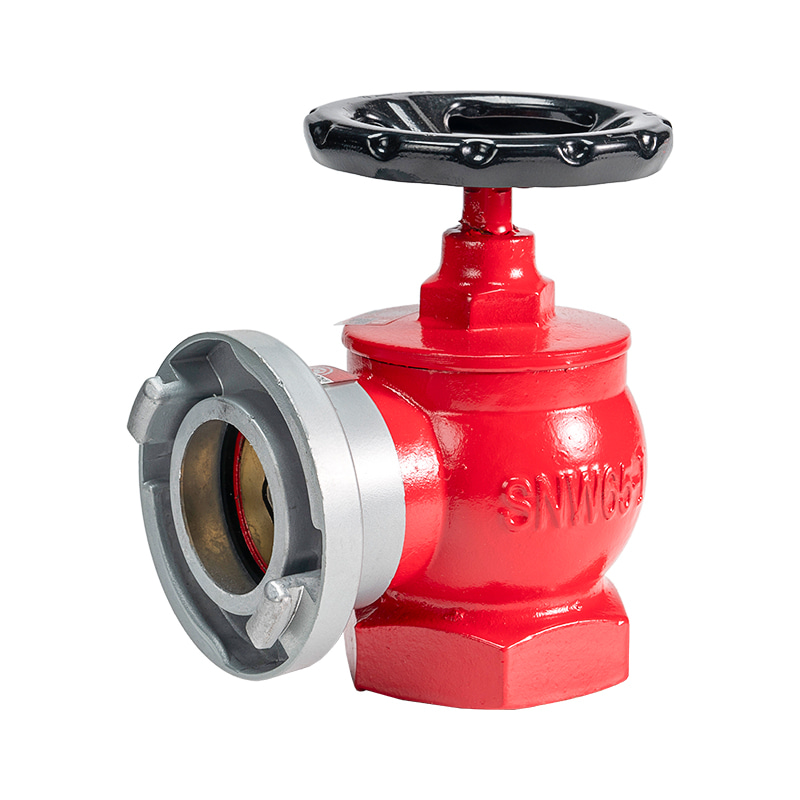
- Hose valve. The angle valve on each floor, usually 1.5 inch for occupants or 2.5 inch for firefighters.
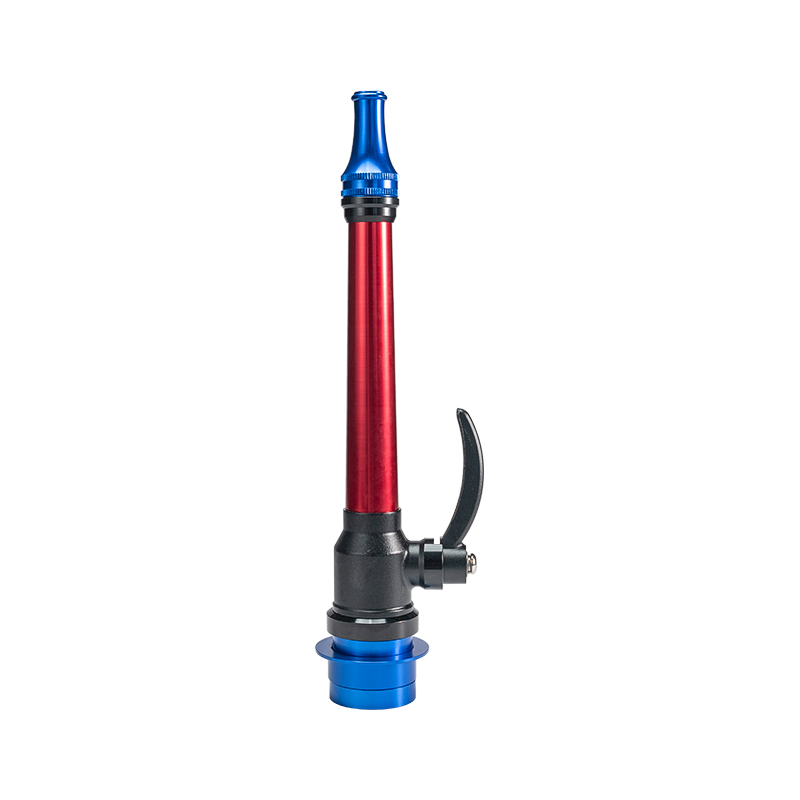
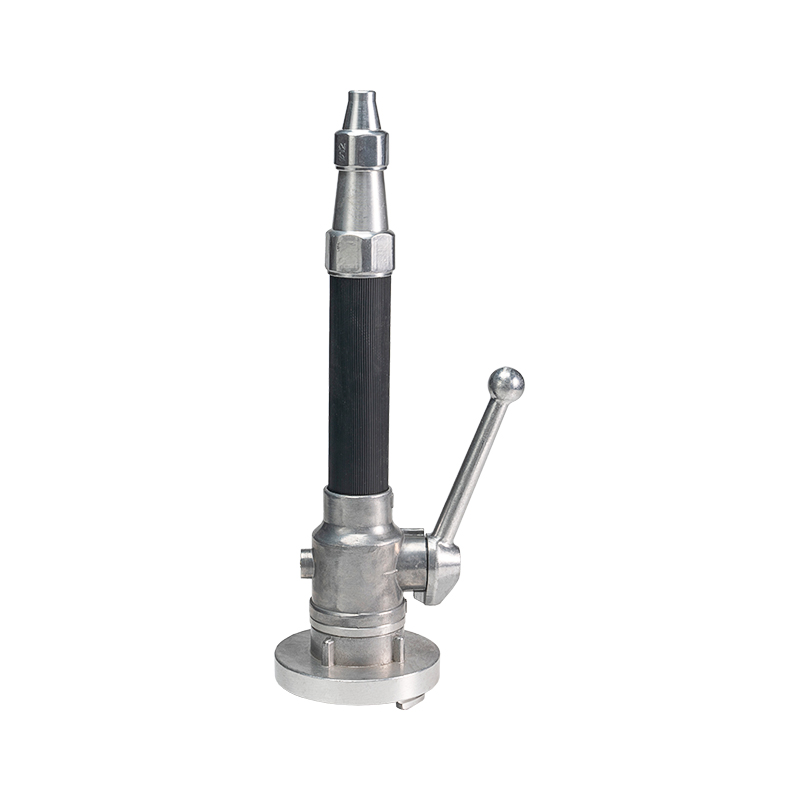
- Hose and nozzle. Lay-flat hose folded on a rack, or semi-rigid hose wound on a reel, with an adjustable or smooth-bore nozzle.
- Cabinet. Protects the hose and nozzle from dust, damage and tampering while keeping them visible and quick to open.
- Fire department connection. An external inlet that lets fire engines pump additional water into the system.
- Pressure-regulating device. Limits excessive pressure on lower floors of tall buildings so hoses can be controlled safely.
Wet, Dry and Class Types: Choosing the Right Standpipe System
Two classifications determine what system a building needs. The first is the class, which describes who uses the outlet and with which hose. The second is the supply type, which describes whether water is always in the pipes. The diagram below shows how the two branches combine.
Class I, II and III in practical terms
Class I systems have 2.5 inch outlets and are meant for firefighters, who bring their own hose. Class II systems have 1.5 inch outlets with hose already attached, intended for trained occupants or a building fire brigade. Class III combines both so that firefighters and occupants are covered on the same floor. A warehouse with a trained internal team might choose Class III. A residential tower, where occupants are expected to leave and not fight the fire, normally needs only Class I.
Wet or dry
Wet systems keep water in the pipes at all times and are the default wherever the pipes will not freeze. Dry systems stay empty until a fire engine pumps water in, and they suit unheated parking structures, open-air stairwells and cold-climate buildings. The trade-off is time: a manual dry riser can only deliver water after the fire department has connected and charged it, so it is not suitable where occupants are expected to start an attack.
Flow and Pressure Numbers That Decide Whether the System Works
A cabinet on the wall proves nothing about performance. What matters is the water that comes out of the nozzle under real conditions. Two widely used reference values come from the common standpipe standard: at least 100 psi residual pressure at a 2.5 inch outlet and at least 65 psi at a 1.5 inch hose connection, each while flowing the required volume.
Why height changes everything
Water loses 0.433 psi of pressure for every foot it climbs. The chart below shows that loss for a building with 10 feet between floors, before any friction loss in the pipe is counted.
A worked example
Take a 12-storey office building with 10 feet per floor, so the top outlet sits about 120 feet above the pump. The elevation alone costs roughly 52 psi. If the top Class I outlet needs 100 psi while flowing, the pump must deliver at least 152 psi at the base, plus whatever friction the pipe adds at 500 gpm. Many municipal mains offer 40 to 80 psi, so a fire pump is not optional here. At the other end of the building, the lowest floors may see pressure above the 175 psi limit for 2.5 inch outlets or the 100 psi limit for 1.5 inch connections, which is why pressure-regulating devices are installed on those floors.
Water volume to plan for
Flow and duration together define storage. At the 30-minute minimum duration, one Class II station at 100 gpm needs 3,000 gallons, a single Class I standpipe at 500 gpm needs 15,000 gallons, and a maximum 1,250 gpm demand needs 37,500 gallons. A tank that is smaller than this figure, or partly empty because of a leak, silently cuts the available fire-fighting time.
Where to Place Indoor Fire Hydrants for Real Coverage
Placement determines whether a hose can actually reach the fire. A standard 100 foot hose plus about 30 feet of nozzle stream gives a working reach near 130 feet, so outlets are laid out so that every point on a floor falls inside that range. The same principle appears in other national rules, such as the 25 metre hose and DN65 outlet arrangement common under Chinese design codes and the lay-flat and hose-reel arrangements covered by European hose system standards.
- Stairwells first. Firefighters work from stairwell landings because the stair enclosure is the safest place to connect hose. Class I outlets belong on intermediate landings or inside the stair enclosure on every floor.
- Mount height. Place the valve between 3 and 5 feet above the floor so that it is reachable without stooping or climbing and the hose does not kink as it leaves the valve.
- Clear space. Keep at least 3 feet of unobstructed space in front of every cabinet. Painted floor markings help prevent storage from creeping into the area.
- Corridors and exits. Position outlets near exits, not in rooms that may be locked, so the cabinet can be reached while escaping.
- Roof and parking levels. Roof outlets and basement outlets are easy to forget in layouts. Include them in the coverage drawing.
- Signage. Use a red cabinet or a sign that is visible from the corridor and still readable in smoke or power failure, with photoluminescent or illuminated markings.
A quick field test: stand at the farthest corner of a floor, measure the walking route to the nearest outlet around walls and furniture, and compare it with the hose length. Straight-line distance on a drawing often overstates what a hose can reach by 20 to 30 percent.
Selecting Cabinets, Hoses, Nozzles and Valves
Once the layout is fixed, the choice of equipment decides how usable the system is under stress. The goal is a set of components that a trained person can deploy in under a minute.
Hose type
Lay-flat hose, folded on a rack, is lighter and delivers higher flow, but it must be pulled out completely before the valve is opened. Semi-rigid hose on a swinging reel can be used even partly unrolled, which helps less experienced users, but it delivers lower flow and is usually limited to first-aid firefighting. For occupant-use Class II stations at 1.5 inches, lay-flat is the conventional choice in high-risk spaces, while reels suit offices and hotels where the priority is simplicity.
Nozzle
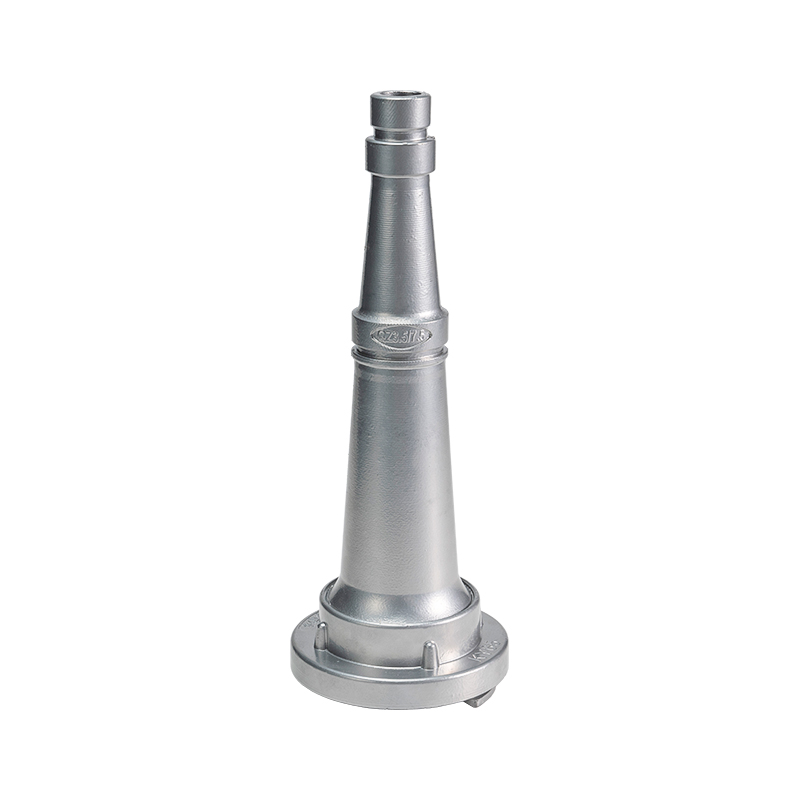
Adjustable fog nozzles allow shut-off and pattern change, which protects users who are not trained to manage a straight stream. Smooth-bore nozzles give longer reach with less friction but need more skill, because reaction force rises quickly with flow. Whichever is chosen, it should be permanently attached to the hose or stored in a clearly labelled holder, since a missing nozzle is one of the most frequent inspection findings.
Cabinet and valve materials
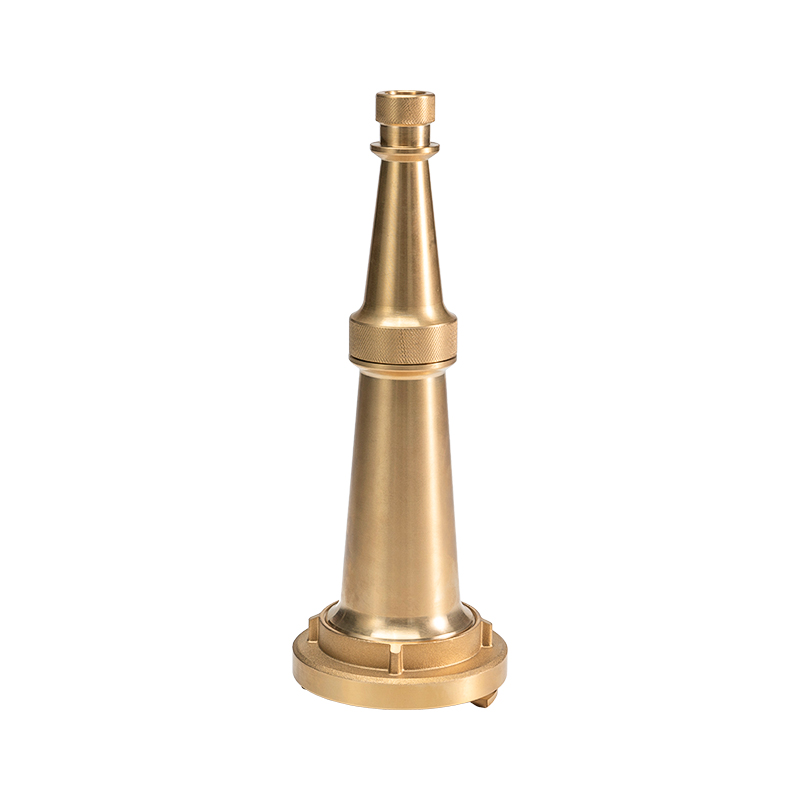
Powder-coated steel or stainless steel cabinets resist corrosion in humid plant rooms and parking levels. A breakable glass panel with a visible key hook or a simple latch avoids the delays caused by lost keys. For valves, bronze or brass bodies with handwheels that rotate fully and are marked for open and closed positions keep operation obvious. In coastal or chemical environments, specify coatings that match the corrosion risk instead of the standard grade.
Should Occupants Use an Indoor Fire Hydrant?
In most buildings, the correct answer is no unless the person is trained. A hose at 100 gpm pushes back hard on the person holding it, and a fire that has grown beyond a wastebasket can produce smoke and heat faster than an untrained user can judge. For this reason, many modern codes no longer require Class II hose stations in fully sprinklered buildings, and place the emphasis on alarm, evacuation and fire department access.
Where occupant hose stations remain, for example in factories, warehouses, theatres or buildings with an on-site fire team, the rules of use should be simple and posted: raise the alarm first, make sure there is an exit behind you, stand low, and withdraw if the fire is not clearly shrinking within the first minute. A hose station is a tool for a trained team, not a reason for staff to stay when evacuation has been called.
Inspection and Testing Schedule That Prevents Failures
Indoor hydrant systems are passive for years and then must work perfectly in minutes, so their reliability depends on a schedule. The table below follows the intervals commonly adopted from standpipe maintenance standards. Local authorities may require shorter intervals, so confirm what applies to the building.
| Task | Typical frequency | What to check |
|---|---|---|
| Cabinet walk-through | Monthly or quarterly | Door opens, hose and nozzle present, no blockage, signage visible |
| Hose and nozzle inspection | At least annually | Cracks, mildew, kinks, gasket condition, nozzle moves freely |
| Hose valve operation | Annually | Valve opens and closes fully, no leaks at the stem, caps in place |
| Control valves and supply | Weekly to monthly | Valves locked or supervised in the open position, tank level correct |
| Pressure-regulating devices | Annually | Outlet pressure within limits at test flow |
| Gauges | Replace or recalibrate every 5 years | Readings match a reference gauge |
| Hose service test | After 5 years in service, then every 3 years | Pressure test and drying before re-racking |
| Full flow test | Every 5 years | Required flow and residual pressure at the most remote outlet |
Keep a dated log for each cabinet. When a building owner can show consistent records, insurers and inspectors accept the system with far less friction, and the records often reveal slow trends, such as a hose that fails every inspection in one humid location.
Common Faults Found During Inspections and How to Fix Them
Certain defects appear again and again. Knowing them lets a facility team solve most of them before the formal inspection.
- Closed or partly closed supply valve. Often left after maintenance. Fix it with tamper switches, locks and a rule that any closure triggers a fire watch.
- Dry-rotted or mildewed hose. Caused by storing hose that was used or tested while still wet. Dry it completely, re-rack it, and replace it when the lining shows cracks.
- Missing or stolen nozzles. Use tamper-resistant fittings or a nozzle that is integral with the hose.
- Seized valve handwheel. Corrosion or paint on the stem. Exercise valves yearly, lubricate as the manufacturer specifies, and replace any valve that will not turn smoothly.
- Blocked cabinets. Boxes, carts and furniture in front of the cabinet. Mark the floor and include clearance in the housekeeping checklist.
- Low residual pressure. Usually a pump set to the wrong cut-in pressure, a clogged strainer or a partly closed valve upstream. Test at the most remote outlet to find the cause.
- Leaks at hose connections. Worn gaskets. Replacing them is inexpensive and prevents slow water loss and corrosion on the cabinet floor.
Planning an Upgrade or New Installation of Indoor Fire Hydrants
When a building is renovated, changes its use, or adds floors, the original hydrant design may no longer meet the requirement. A sensible upgrade process follows a short, repeatable path.
- Confirm the governing code. Identify the standard adopted by the local authority, its edition, and whether the building is classified as high-rise.
- Test the existing system. Run a flow test at the most remote outlet to see actual flow and pressure before deciding whether to repair, extend or replace.
- Match class to occupancy. Decide whether occupants will be trained to use hose stations. If not, a Class I system with firefighter outlets may be simpler and cheaper to maintain.
- Calculate demand and storage. Use the flow values and the 30-minute duration to size the tank and pump, including the elevation and friction loss of the actual route.
- Draw coverage on every floor. Verify hose reach around walls and equipment, and add outlets in stairwells, roof and basement levels.
- Plan access for maintenance. Place shut-off valves, drains and test connections where technicians can reach them without special equipment.
- Document and train. Hand over as-built drawings, a test report and a simple operating card, and train the people who will inspect the system or use the stations.
A practical cost example illustrates why early planning matters. Adding a hose valve to a stairwell during construction usually requires a short branch from an existing riser. Adding the same valve after finishes are complete can require opening walls, rerouting cables and shutting down the riser, which can multiply the labor cost several times. Fixing coverage gaps on the drawings is far cheaper than fixing them after occupancy.
Frequently Asked Questions
What is the difference between an indoor fire hydrant and a fire hose reel?
An indoor fire hydrant outlet is connected to a standpipe designed for high flow, commonly 100 gpm for an occupant hose station and much more for a firefighter outlet. A hose reel carries semi-rigid hose from a smaller supply line at lower flow and is meant for first-aid firefighting by occupants. If the building needs firefighters to operate on upper floors, the hydrant system is the one that matters.
How much water pressure does an indoor fire hydrant need?
Common standpipe standards call for at least 100 psi residual pressure at a 2.5 inch outlet and at least 65 psi at a 1.5 inch hose station while the required flow is running. Pressure above about 175 psi at 2.5 inch outlets, or above 100 psi at 1.5 inch connections, must be reduced with regulating devices so hoses can be controlled safely.
How often should an indoor fire hydrant be inspected?
A visual inspection of cabinets, hoses and nozzles is usually done at least once a year, and many owners add a monthly or quarterly walk-through. Valves are exercised annually, hoses are service tested after five years and every three years afterwards, and a full flow test is commonly performed every five years. Local rules can be stricter, so always confirm the requirement with the authority having jurisdiction.
Do sprinklered buildings still need indoor fire hydrants?
In most cases, yes, especially in tall buildings. Sprinklers control a fire at its origin with about 22 gpm per head, while firefighters need hundreds of gallons per minute from standpipe outlets to complete an attack. Some codes do allow the omission of occupant-use Class II stations when a building is fully sprinklered, but the firefighter outlets generally remain.
Where should indoor fire hydrants be installed in a building?
Install them in stairwells or on stair landings, near exits and along corridors, so that every part of the floor is within about 130 feet of hose and stream reach. Mount the valve 3 to 5 feet above the floor, keep 3 feet of clear space in front, and include roof and basement levels in the layout. Sharing the drawing with the local fire department before construction avoids costly corrections later.
News&Event
-
The necessity and importance of fire-fighting facilities
The necessity and importance of fire-fighting facilities are mainly reflected in the following aspects: Prevention of fire: Firefighting facilities su...
READ MORE -
Is a Fire Fighting Hose with a reflective stripe worth the cost over a plain Fire Fighting Hose for night operations?
Short Answer: Yes, for Most Night Operations A Fire Fighting Hose with a reflective stripe is worth the extra cost in almost every night-time scenar...
READ MORE -
What Are Fire Hoses Made Of? PVC vs EPDM Lined Fire Hose Guide
What Fire Hoses Are Made Of: The Short Answer A fire fighting hose is a layered composite: a flexible inner lining that carries the water, a woven te...
READ MORE -
Correct use of fire-fighting facilities
The correct use of fire-fighting equipment includes the use of fire extinguishers, fire hydrants, smoke escape masks, escape ropes, and fire blankets....
READ MORE